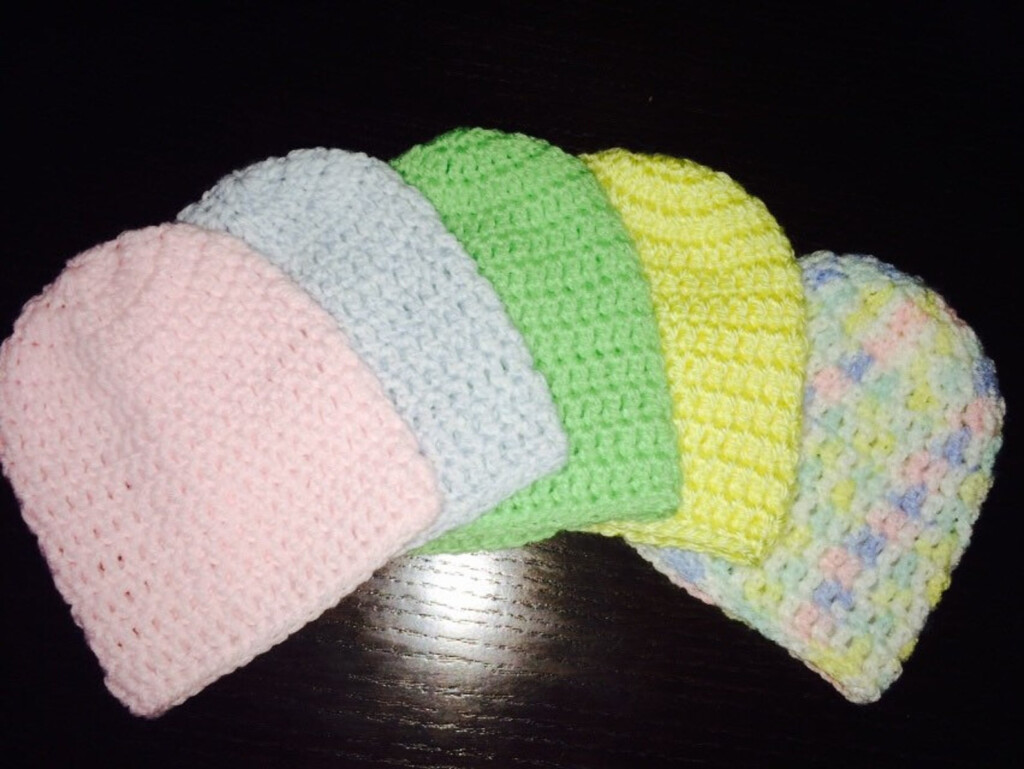
Newborn hats are not just adorable but also provide imperative warmth for your little one. If you’re looking to create a special handmade accessory, a free crochet pattern is the perfect starting point. You will discover a simple and enjoyable way to craft a beautiful hat that fits snugly and comfortably on your newborn’s head. By using the right yarn and techniques, you can ensure that your creation is safe and cozy for your baby. Let’s look into this easy-to-follow crochet pattern and bring your vision to life!
Materials Needed
Before you get started on your adorable newborn hat, gather the vital materials to ensure a smooth crocheting experience. You’ll need soft, high-quality yarn, a suitable crochet hook, and a pair of scissors. Optionally, having a yarn needle on hand will help with weaving in ends later on. Choosing the right materials enhances the finished product and keeps your little one cozy.
Yarn Selection
Above all, selecting the right yarn is vital for your newborn hat. Opt for soft, hypoallergenic fibers like acrylic or cotton to protect your baby’s sensitive skin. You might want to consider a medium-weight yarn (worsted weight) to achieve a balance between warmth and comfort.
Crochet Hook Size
Behind every beautifully crocheted hat is the appropriate crochet hook size. Typically, a size H/8 (5mm) hook works well with worsted weight yarn. However, you may need to adjust based on your personal tension and the yarn you choose, so always check your gauge for the best results.
Materials used for your crochet hook can influence your experience and outcome. If you prefer a lightweight option, consider using aluminum or plastic hooks. If you enjoy a more natural feel, a wooden or bamboo hook may suit you better. Be aware of your grip comfort while crocheting; this will ensure long, enjoyable sessions without hand fatigue.
Basic Crochet Stitches
Some of the fundamental stitches you’ll use in your crochet projects are vital to creating beautiful designs. Mastering these basic stitches will significantly enhance your skills and make your crochet experience more enjoyable. You’ll find that these stitches are the building blocks to countless patterns, allowing your creativity to flourish as you work on your newborn hat.
Slip Knot
Behind every crochet project, the slip knot serves as the starting point. It’s a simple technique that secures your yarn to the hook, providing a stable foundation for your work. Practice this knot to ensure that you can begin your projects with confidence, as it is the vital first step in crochet.
Single Crochet
To create a solid and textured fabric for your newborn hat, the single crochet stitch is a popular choice. This stitch is straightforward and provides a tight, neat finish, perfect for soft baby hats.
The single crochet stitch involves inserting your hook into the next stitch, yarn over, and pulling up a loop. Then, you’ll yarn over again and pull through the two loops on the hook. This stitch is both versatile and easy to master, making it ideal for beginners. Keep your tension even to ensure a smooth finish, and don’t hesitate to practice until you feel comfortable. The single crochet forms the backbone of many crochet projects, allowing you to explore various patterns and styles!
Pattern Instructions
You will follow this detailed pattern to create a charming newborn hat. Each step has been laid out clearly to ensure your crochet experience is enjoyable and straightforward. Gather your materials, including your favorite yarn and a matching hook, and let’s get started on crafting this adorable accessory for the little ones!
Start With the Foundation Chain
About the foundation chain, it’s crucial to create a chain that provides the right width for your newborn hat. Typically, you’ll want to start with a chain of approximately 20-24 stitches, depending on your yarn thickness and the desired fit. Make sure your chain is not too tight, as this will affect the stretchability of the hat.
Working in Rounds
At this stage, you will shift from the foundation chain to working in rounds. This technique allows you to build the hat upwards seamlessly. Each round typically begins with a slip stitch or chain stitch to close the previous round. Ensure that each round is even and maintains a consistent tension for a pleasing finish.
For instance, once you’ve established the first round, you’ll generally go on to crochet a series of stitches into each chain. This will increase the hat’s width. Be cautious to work in a continuous spiral or join your rounds properly to avoid unsightly bumps in the hat’s design. Maintaining even tension is key, as it will contribute to the overall appearance and fit of the hat.
Size Adjustments
Now that you’ve picked up your crochet hook, it’s imperative to understand how to make size adjustments for your newborn hat. Since babies grow quickly, you may want to customize the fit to ensure comfort and longevity. You can easily alter the number of stitches and rows to achieve a snug yet comfortable fit that accommodates your little one’s growing head size.
Customizing Fit for Newborns
After choosing your yarn and crochet hook, you can tailor the hat’s size by adjusting the pattern. Measure the circumference of the newborn’s head and match it with your initial stitches. If needed, add or reduce stitches and rows while maintaining the desired stitch type for a harmonious look.
Options for Growth
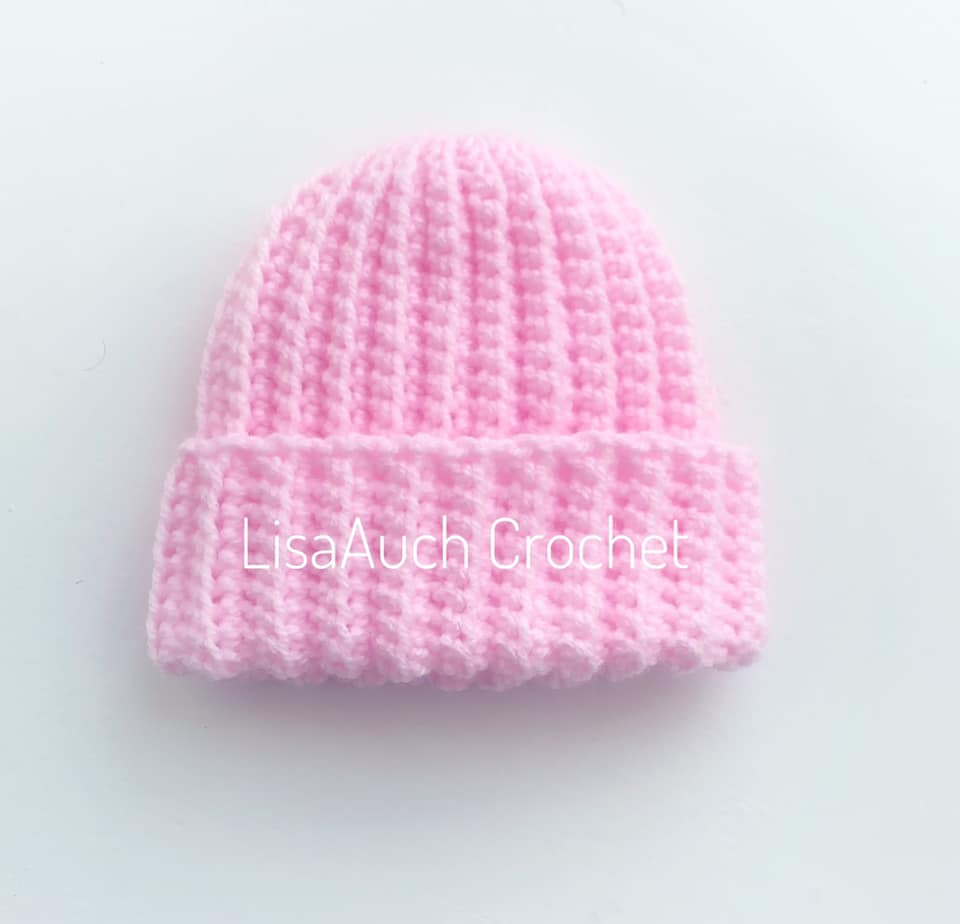
Before settling on a final size, consider making adjustments that allow for your baby’s growth. By incorporating a slightly larger starting size or adding a ribbed band, you can create a hat that can stretch over time, offering more prolonged use throughout those early growth spurts.
But, if you choose to create options for growth, ensure that the hat doesn’t become too loose. A well-fitted hat can still have a bit of extra room, allowing for comfort as your baby grows. Using stretchy yarn or ribbing techniques can help maintain the shape of the hat while accommodating your baby’s head size. Adjust the design by incorporating elastic stitching or leaving a bit of extra length to roll up, making the hat both functional and stylish as your little one grows.
Optional Embellishments
To personalize your newborn hat, consider adding some delightful embellishments. These decorative touches can enhance your finished piece and make it uniquely yours. From bows to textured stitches, small details can turn a simple hat into a cherished keepsake. Feel free to let your creativity shine as you explore different options to enhance the visual appeal of your project.
Adding a Bow
About adding a bow, this simple yet charming embellishment can give your newborn hat an adorable touch. You can create a bow using a contrasting yarn for a pop of color. Attach it securely to the side or front of the hat for an eye-catching accent that makes the hat even more special.
Creating Texture
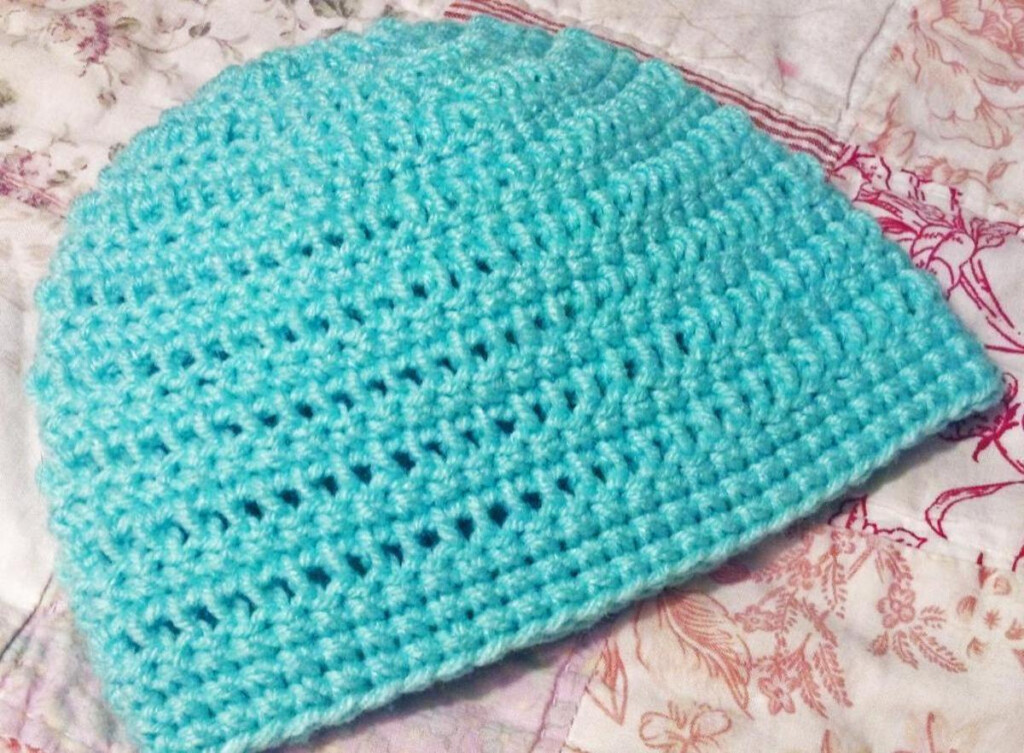
The ability to create texture in your crochet hat can elevate its design significantly. Using different stitches or adding elements like pom-poms can transform a standard crochet hat into a stunning piece. Mixing stitches such as bobbles, shells, or clusters provides visual interest and tactile depth, making your hat not only beautiful but also engaging.
Indeed, incorporating texture into your crochet hat design can greatly enhance its appeal. By experimenting with various stitch patterns, you can create a visually dynamic look that stands out. For example, using bobbles adds a playful aspect, while shell stitches can introduce an elegant finish. Combining different techniques can yield unique results, making each hat truly one of a kind. Consider your choice of yarn carefully, as textures can be further emphasized with the right materials. Don’t hesitate to explore and let your creativity guide you as you add depth to your design!
Care Instructions
Once again, to ensure the longevity of your beautiful newborn hat, follow these simple care instructions. For a variety of crochet hat patterns, check out the Free Baby Hats Crochet Patterns that suit your style.
Washing and Drying
About caring for your hat involves gentle washing techniques. Hand wash your hat in cold water using a mild detergent, then lay it flat to dry to maintain its shape.
Storing the Hat
Between uses, it’s best to store your crochet hat in a safe, dry place. Avoid hanging it as this may deform the shape over time.
Plus, consider using a breathable cotton bag to protect your hat from dust and potential damage. Avoid damp locations to prevent mildew, as moisture can seriously harm the fibers. To keep your hat looking its best, avoid placing it in direct sunlight for extended periods, which can fade the colors over time.
Summing up
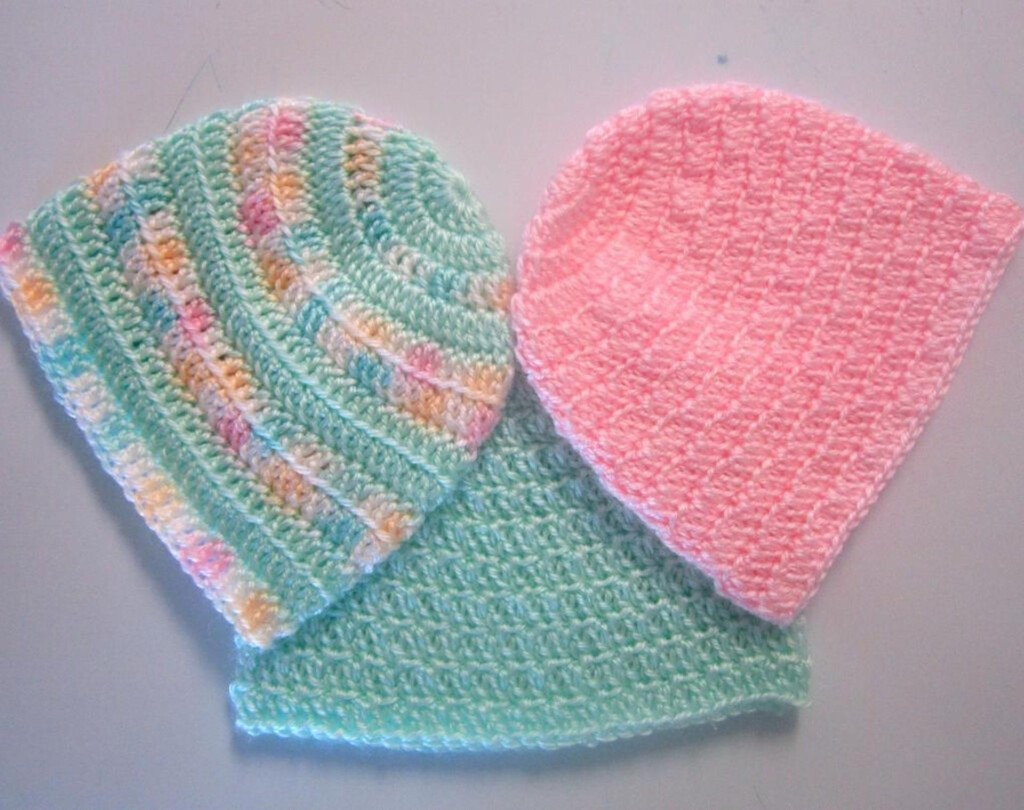
With this in mind, you can create a beautiful and cozy newborn hat using the free crochet pattern. This project not only serves as a perfect gift for a little one but also allows you to practice your crochet skills. By following the detailed instructions, you’ll enjoy the process and produce a charming accessory that will keep babies warm and stylish. So gather your materials and get started on this delightful crochet adventure—your handiwork will be cherished for years to come!
Download Free Crochet Pattern Newborn Hat
To get Free Crochet Pattern Newborn Hat ideas and stuff, check out the gallery of them below: